A correct viking grill installation prevents the no-ignite, low-flame, and flare-up problems that otherwise spoil the first cookout.
Viking outdoor grills are fully mechanical gas — stainless or cast-brass burners, ceramic radiant briquettes, push-button or push-turn electronic ignition, and a 9V battery on battery models — with no control board and no codes, so every diagnosis is symptom-led: confirm gas and ignition, then work the ports, the igniter, and the regulator. We start with the everyday causes you can check yourself, then explain the signs that point to a part that genuinely needs a hands-on repair.
What a viking grill installation usually means
Most brand-new grill faults are setup errors. The burners must match the fuel (natural gas or LP) with the correct orifice, the gas connection must be leak-tested, a built-in needs the combustion and ventilation clearances Viking specifies in its island cutout, and battery-ignition models need a fresh battery. Getting these right means the grill lights cleanly and burns blue from day one.
First checks you can do
Start with the checks you can safely do yourself. Each one rules out a common, inexpensive cause, and together they resolve the majority of cases without a service visit:
- Confirm the grill is set for your fuel (NG or LP) with the correct orifice and regulator.
- Leak-test every gas connection with soapy water before lighting.
- For a built-in, follow the island cutout, clearance, and ventilation specs exactly.
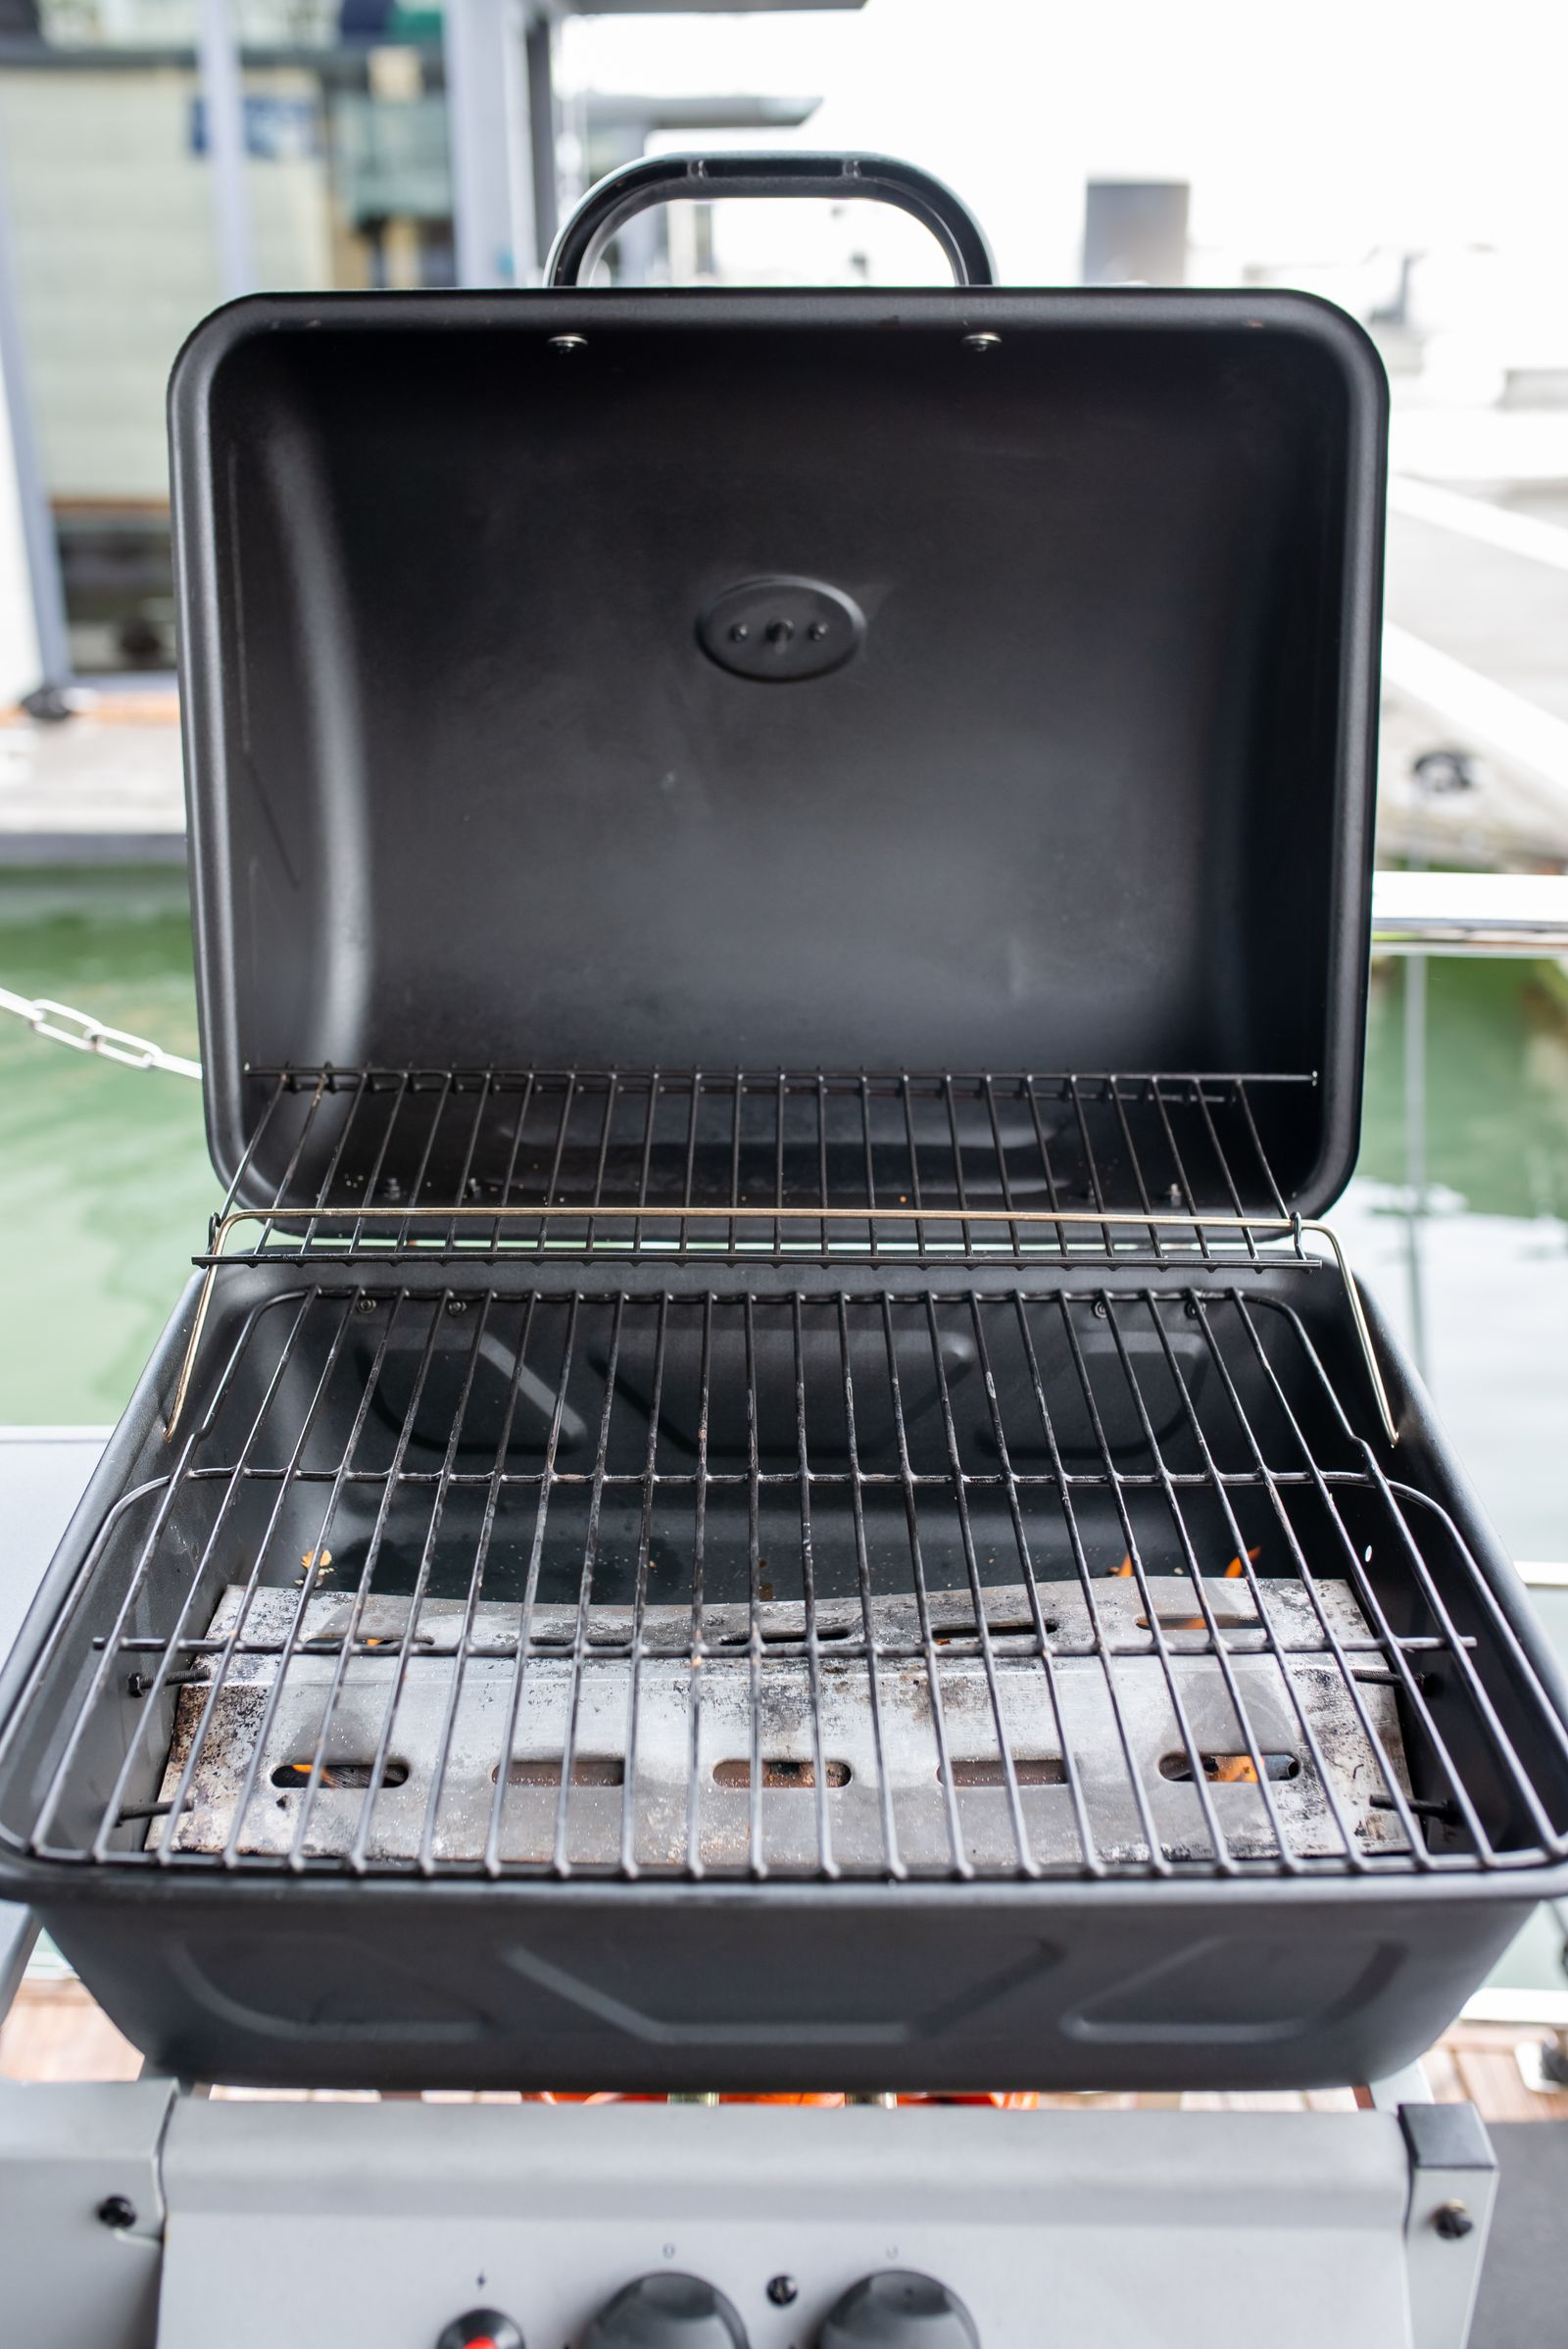
- Fit a fresh ignition battery and confirm every burner lights along its full length.
Take these in order and test whether the problem has cleared before moving to the next. If you do end up needing help, having worked through them gives the technician a useful head start.
When it is a fault, not a habit
If the everyday checks above do not resolve it, the problem has likely moved from something you can adjust to a component that needs testing or replacing. These are the signs that point that way:
- Low or orange flame on first use usually means the wrong orifice for the fuel.
- A built-in that runs hot inside the island points to missing ventilation cutouts.
- No spark on first use is almost always a missing or flat ignition battery.
At this point a proper diagnosis beats guesswork, since the remaining causes involve a specific part or electrical testing. An experienced technician can meter the suspect component and fit a genuine Viking part so the repair lasts.
Getting it right for the long run
After the unit is connected, run a short first use and watch it closely. Confirm there are no gas or water leaks at any connection, check that the appliance is steady and level, and make sure the burners light cleanly or the cavity heats as expected. Catching a loose fitting or an overlooked step now, while everything is still accessible, is far easier than diagnosing it later. A few minutes of observation at the end of the install saves a service call down the line.
Putting it together
Work the checks above in the order given. Most Viking grill faults of this kind clear at one of the early, owner-checkable steps; the ones that do not point to a specific part and are worth a proper diagnosis rather than guesswork. Move from the simplest cause outward, confirm each step before the next, and treat a returning code or a lingering symptom as your cue to bring in help. A little routine care afterwards prevents most repeat calls, since Viking builds these grills to a heavy-duty, professional-grade standard.
Related reading: Viking grill won’t ignite, Viking grill maintenance, and our grill repair service.
Book Viking grill service
If these steps do not resolve it, our experienced technicians repair Viking grills with genuine parts and a 30-day labour guarantee. Schedule a visit, see what our grill repair service covers, or confirm your model details on the manufacturer’s site at vikingrange.com.