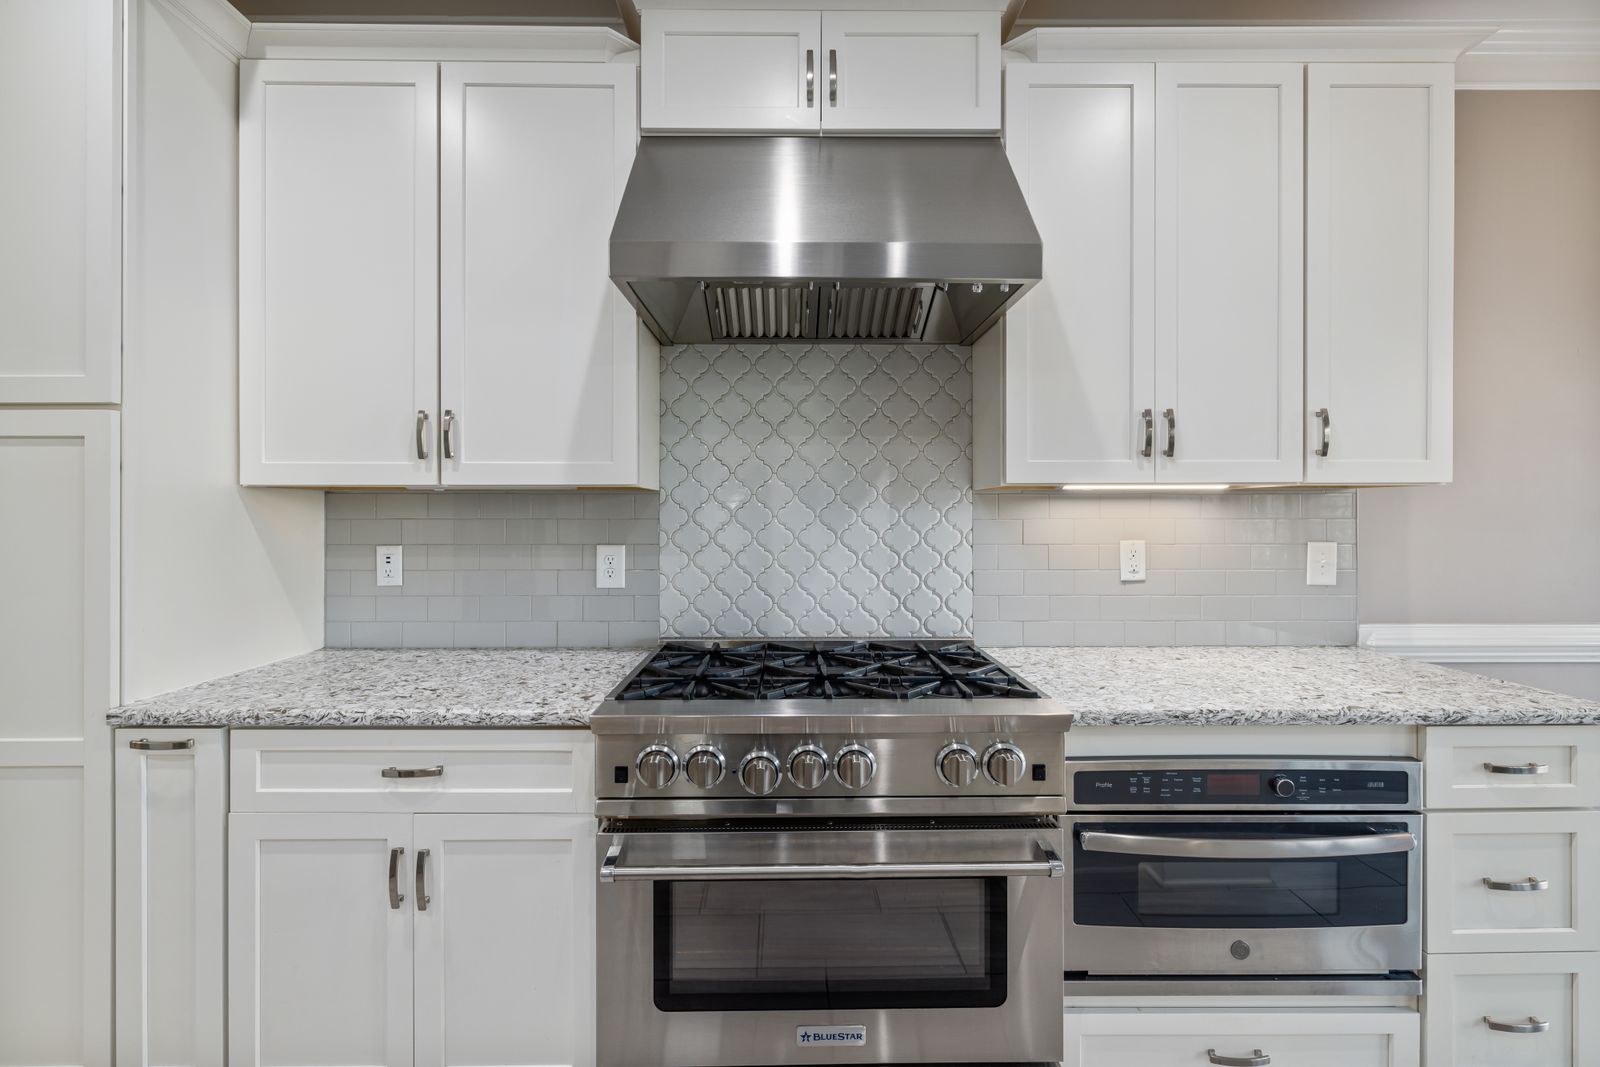
When a viking oven won’t heat, the cause depends on whether the oven is gas or electric — and on a Viking range the two halves fail in completely different ways.
A Viking range pairs a cooktop with an oven, and the two halves diagnose differently: the gas burners are mechanical and symptom-led (no burner code table exists), while an electric or dual-fuel oven cavity reports the same EOC F-codes as the wall ovens — F1/F2/F3 on older boards, F01-F08 on the EOC4. We start with the everyday causes you can check yourself, then explain the signs that point to a part that genuinely needs a hands-on repair.
What a viking oven won’t heat usually means
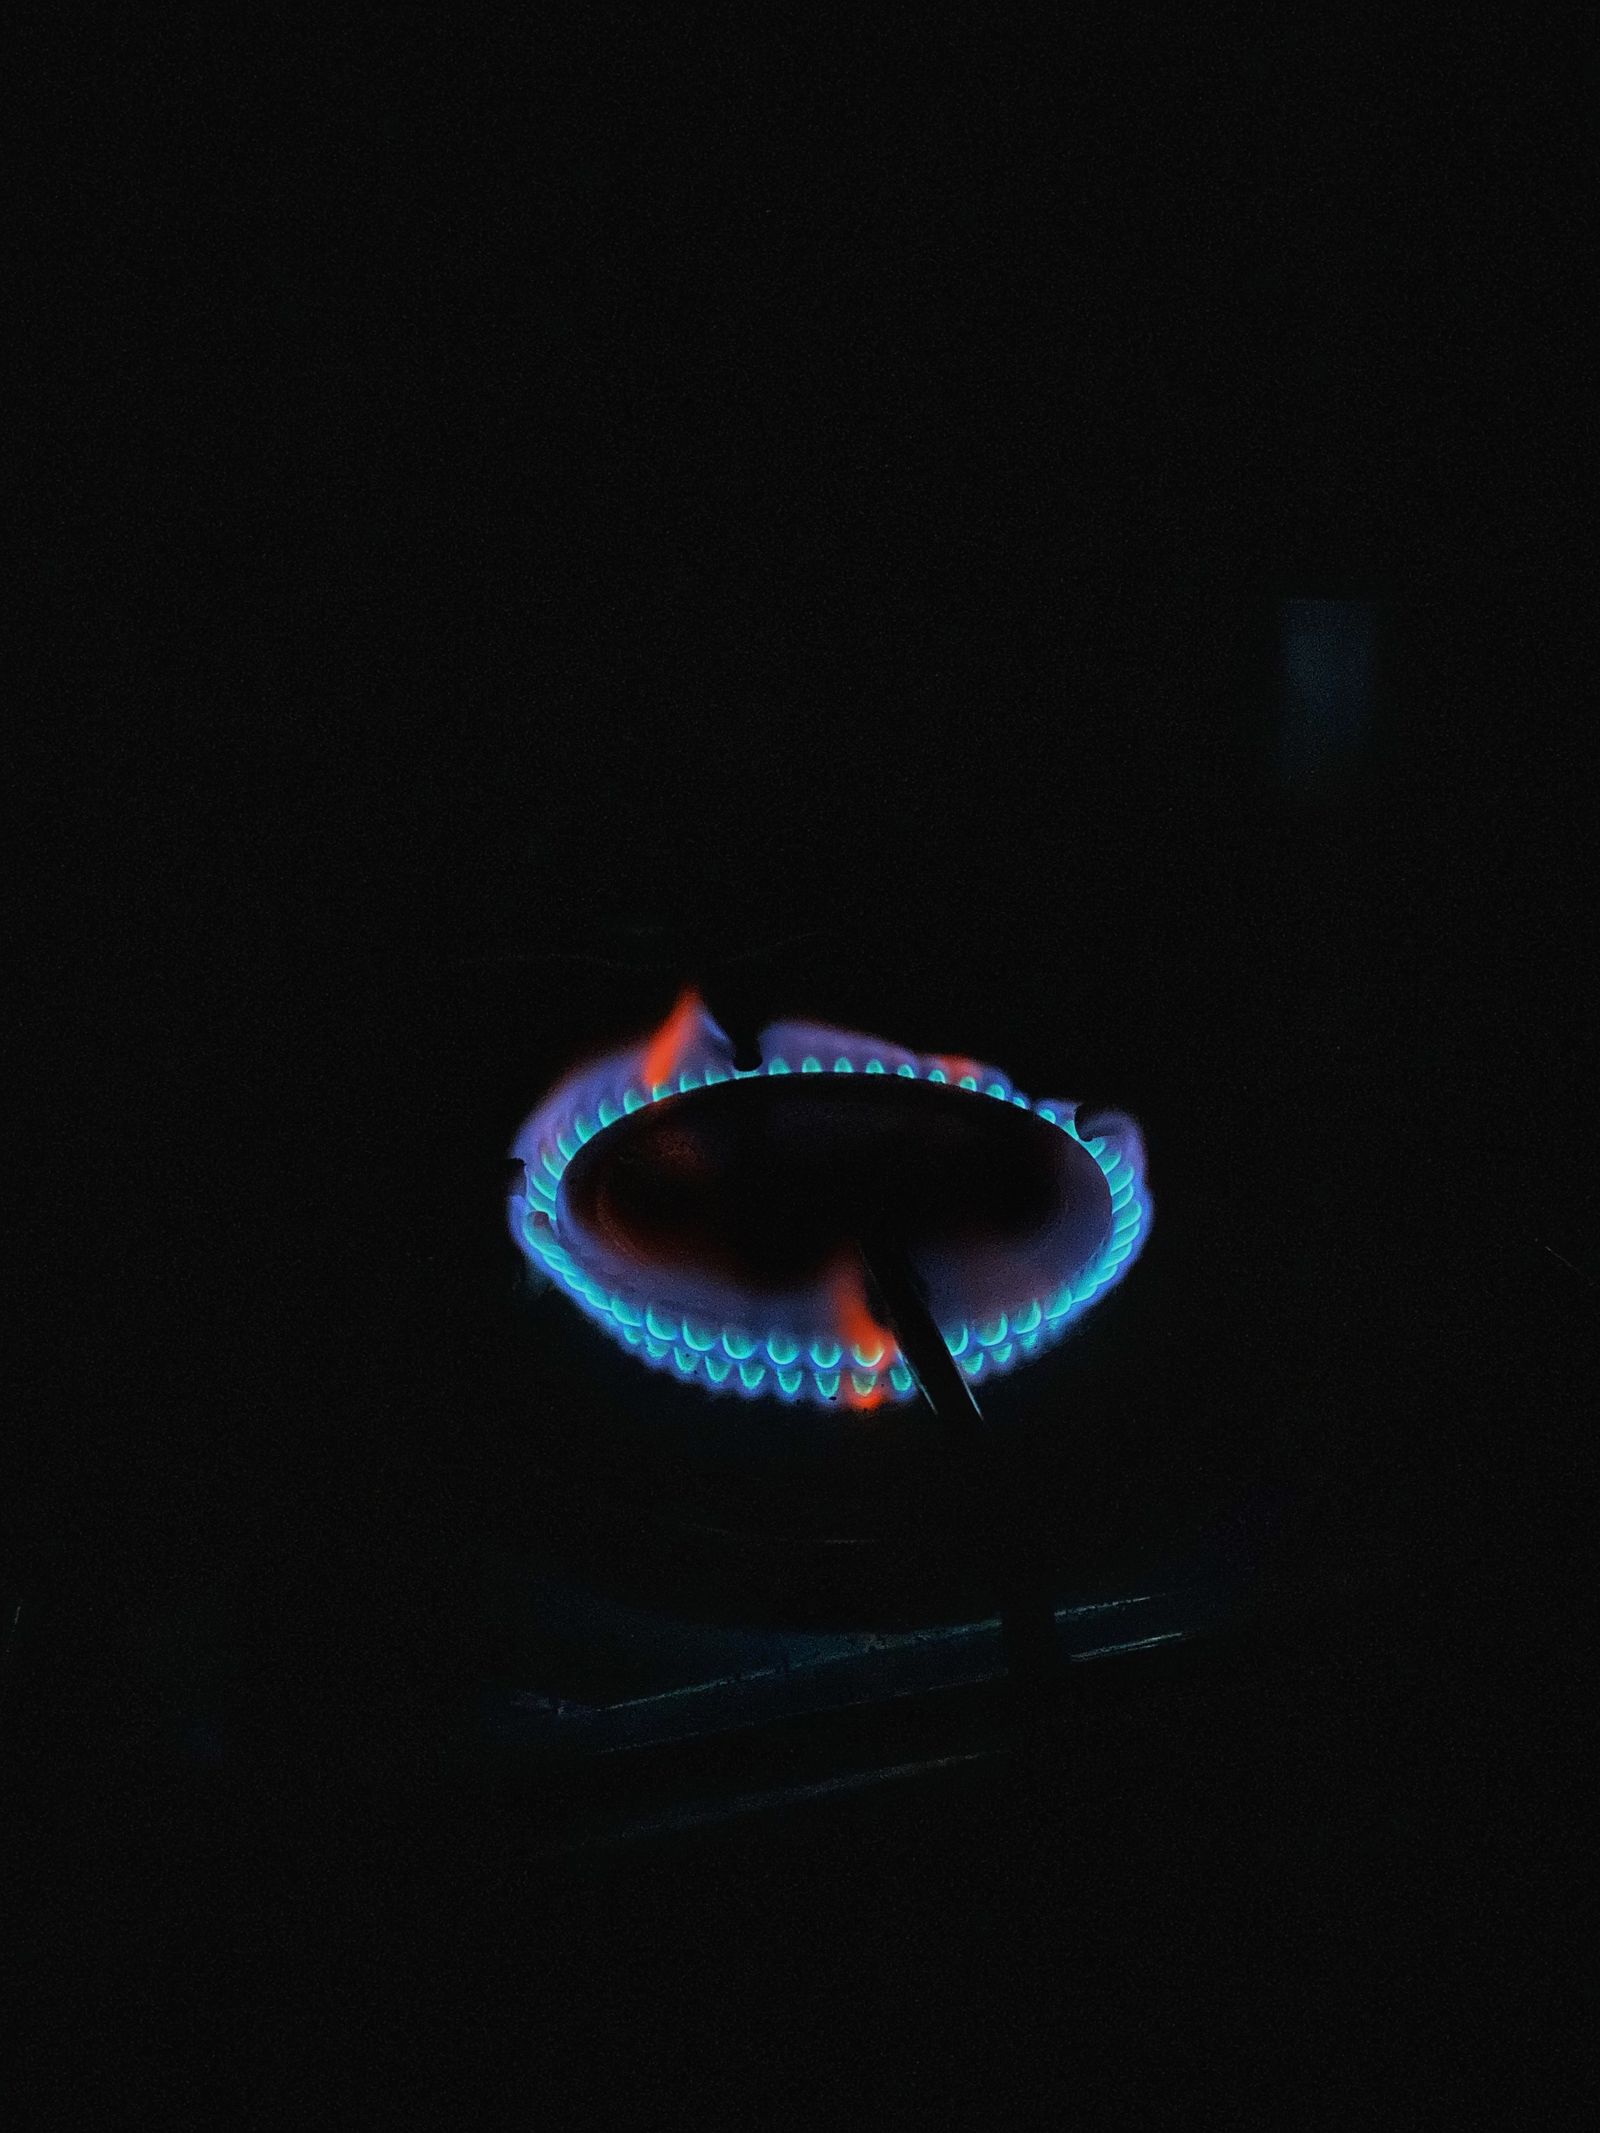
On a gas Viking oven there is no display: a weak or aged bake igniter glows dull orange rather than white-hot, so it never draws enough current to open the safety gas valve, and the oven stays cold. On dual-fuel and electric ovens the cavity is electric and reports EOC F-codes, so an F1/F2 sensor fault or a failed bake element is the likely cause — read the display first.
First checks you can do
Start with the checks you can safely do yourself. Each one rules out a common, inexpensive cause, and together they resolve the majority of cases without a service visit:
- Gas oven: watch the bake igniter when you call for heat — a dull orange glow that never lights the burner means a weak igniter, the most common gas no-heat fault.
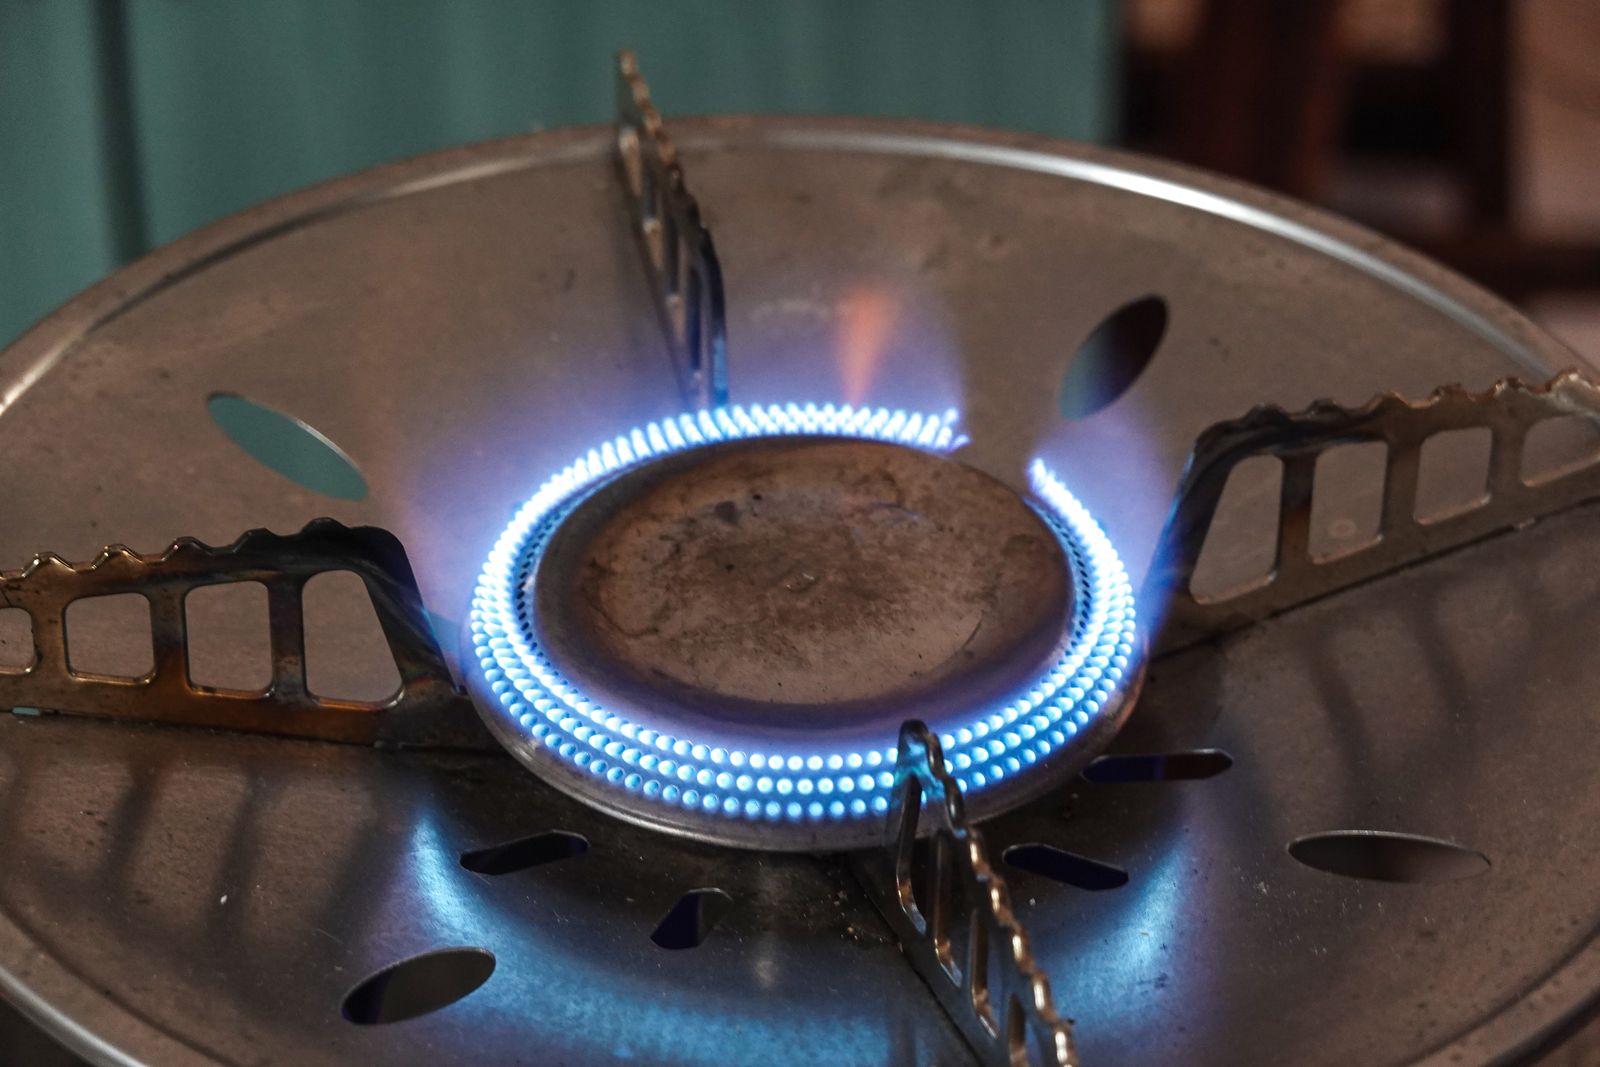
- Confirm the gas supply and that the cooktop burners still light (rules out a whole-range gas issue).
- Dual-fuel/electric: note any F-code on the display before resetting — F1/F2 point at the RTD temperature sensor.
- Check the oven is not in a delay-start, Sabbath, or lockout mode that suppresses heating.
Take these in order and test whether the problem has cleared before moving to the next. If you do end up needing help, having worked through them gives the technician a useful head start.
Reading the Viking display for a viking oven won’t heat
Note any code or blink pattern before you act, because it narrows the diagnosis more than any other clue. A good first move for most Viking faults is a power reset: switch the appliance off at the breaker for a minute, then restore power. If the code returns straight away, treat it as a real fault pointing at the named part.
- F1 — shorted RTD oven temperature probe (older EOC).
- F2 — open RTD probe; the sensor is disconnected or failed (older EOC).
- F3 — controller malfunction (older EOC).
- F02 — RTD sensor open/short on the newer EOC4 generation (do not assume it matches F1/F2).
Note the exact characters and any plain-English meaning, and remember that on Viking ovens the same number can mean different things across EOC generations, so tie the code to your specific model rather than a universal chart.
When it is a fault, not a habit
If the everyday checks above do not resolve it, the problem has likely moved from something you can adjust to a component that needs testing or replacing. These are the signs that point that way:
- Gas: the igniter glows but never reaches white-hot — replace the weak bake igniter so it opens the safety valve.
- Electric/DF: a bake element with a visible break or no continuity needs replacing.
- A persistent F1/F2 after a reset points to the RTD sensor or its wiring.
At this point a proper diagnosis beats guesswork, since the remaining causes involve a specific part or electrical testing. An experienced technician can meter the suspect component and fit a genuine Viking part so the repair lasts.
Putting it together
Work the checks above in the order given. Most Viking range faults of this kind clear at one of the early, owner-checkable steps; the ones that do not point to a specific part and are worth a proper diagnosis rather than guesswork. Move from the simplest cause outward, confirm each step before the next, and treat a returning code or a lingering symptom as your cue to bring in help. A little routine care afterwards prevents most repeat calls, since Viking builds these ranges to a heavy-duty, professional-grade standard.
Related reading: Viking oven error code archive, Viking oven F2 error, and our range repair service.
Book Viking range service
If these steps do not resolve it, our experienced technicians repair Viking ranges with genuine parts and a 30-day labour guarantee. Schedule a visit, see what our range repair service covers, or confirm your model details on the manufacturer’s site at vikingrange.com.