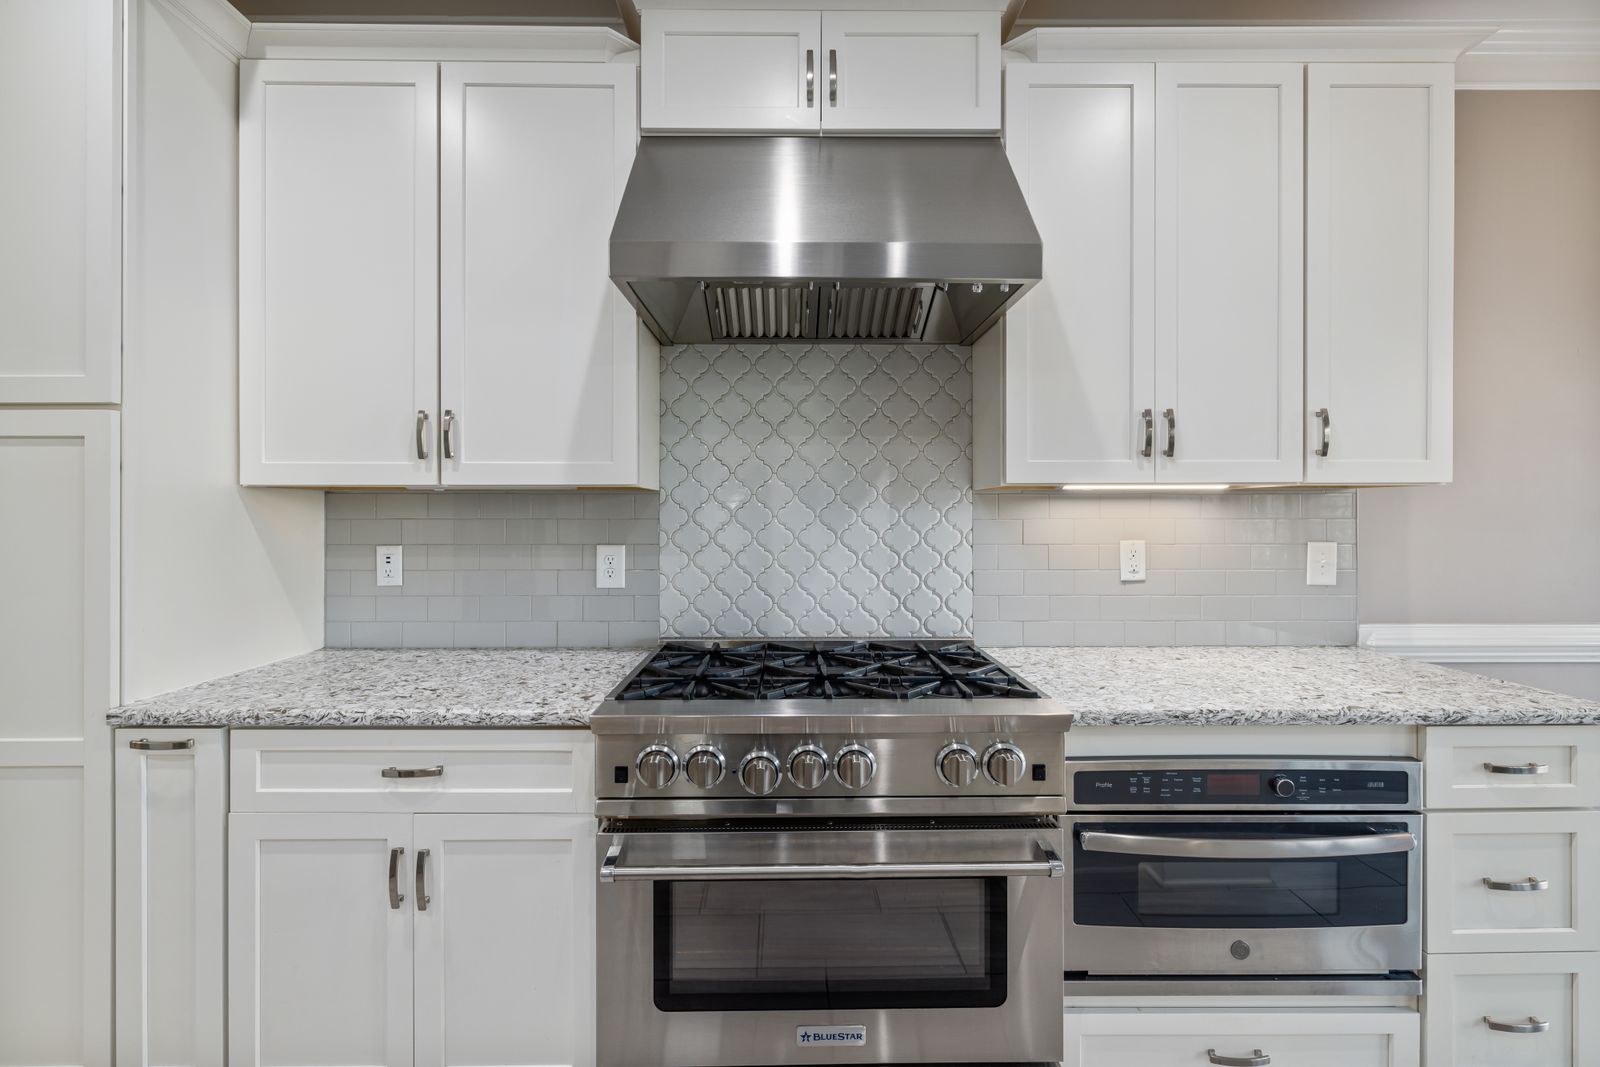
When your viking range burner won’t light, the igniter usually clicks but no flame catches — and on Viking gas ranges this is a mechanical, symptom-led fault with no error code to read.
A Viking range pairs a cooktop with an oven, and the two halves diagnose differently: the gas burners are mechanical and symptom-led (no burner code table exists), while an electric or dual-fuel oven cavity reports the same EOC F-codes as the wall ovens — F1/F2/F3 on older boards, F01-F08 on the EOC4. We start with the everyday causes you can check yourself, then explain the signs that point to a part that genuinely needs a hands-on repair.
What a viking range burner won’t light usually means
Viking gas ranges use SureSpark automatic spark ignition with sealed or open brass-port burners and knob controls — there is no display and no fault code. A burner that will not light traces to the spark electrode, the burner cap alignment, the gas ports, or the supply, in that order. A failed spark module is the last suspect, not the first.
First checks you can do
Start with the checks you can safely do yourself. Each one rules out a common, inexpensive cause, and together they resolve the majority of cases without a service visit:
- Make sure the burner cap is seated flat and centered — an off-center cap is the single most common no-light cause after cleaning.
- Clean the spark electrode (the small ceramic-tipped igniter beside the burner) with a toothbrush; food and grease stop the spark.
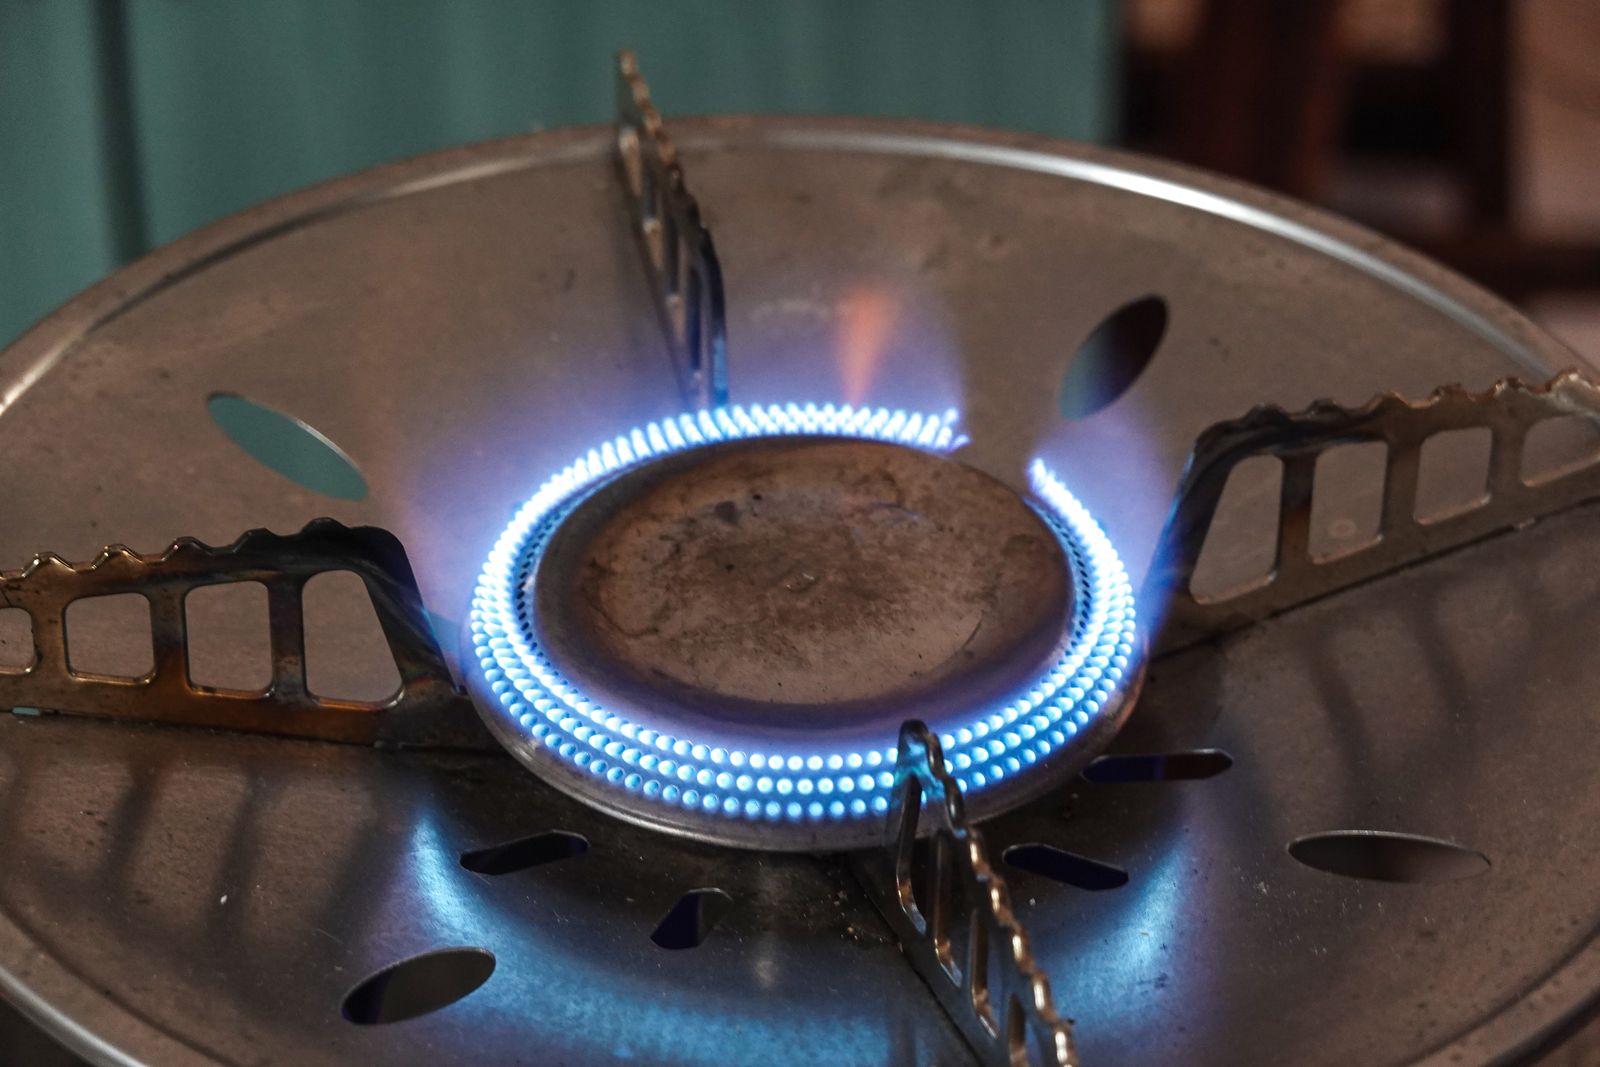
- Clear the brass flame ports with a straightened paper clip if the flame is partial or absent.
- Confirm gas is on, other burners light, and the range was not just cleaned (water around the electrode prevents a spark).
Take these in order and test whether the problem has cleared before moving to the next. If you do end up needing help, having worked through them gives the technician a useful head start.
Common symptoms and what they point to
Matching the exact symptom to its likely cause is how you avoid replacing the wrong part. Compare what you are seeing to the patterns below:
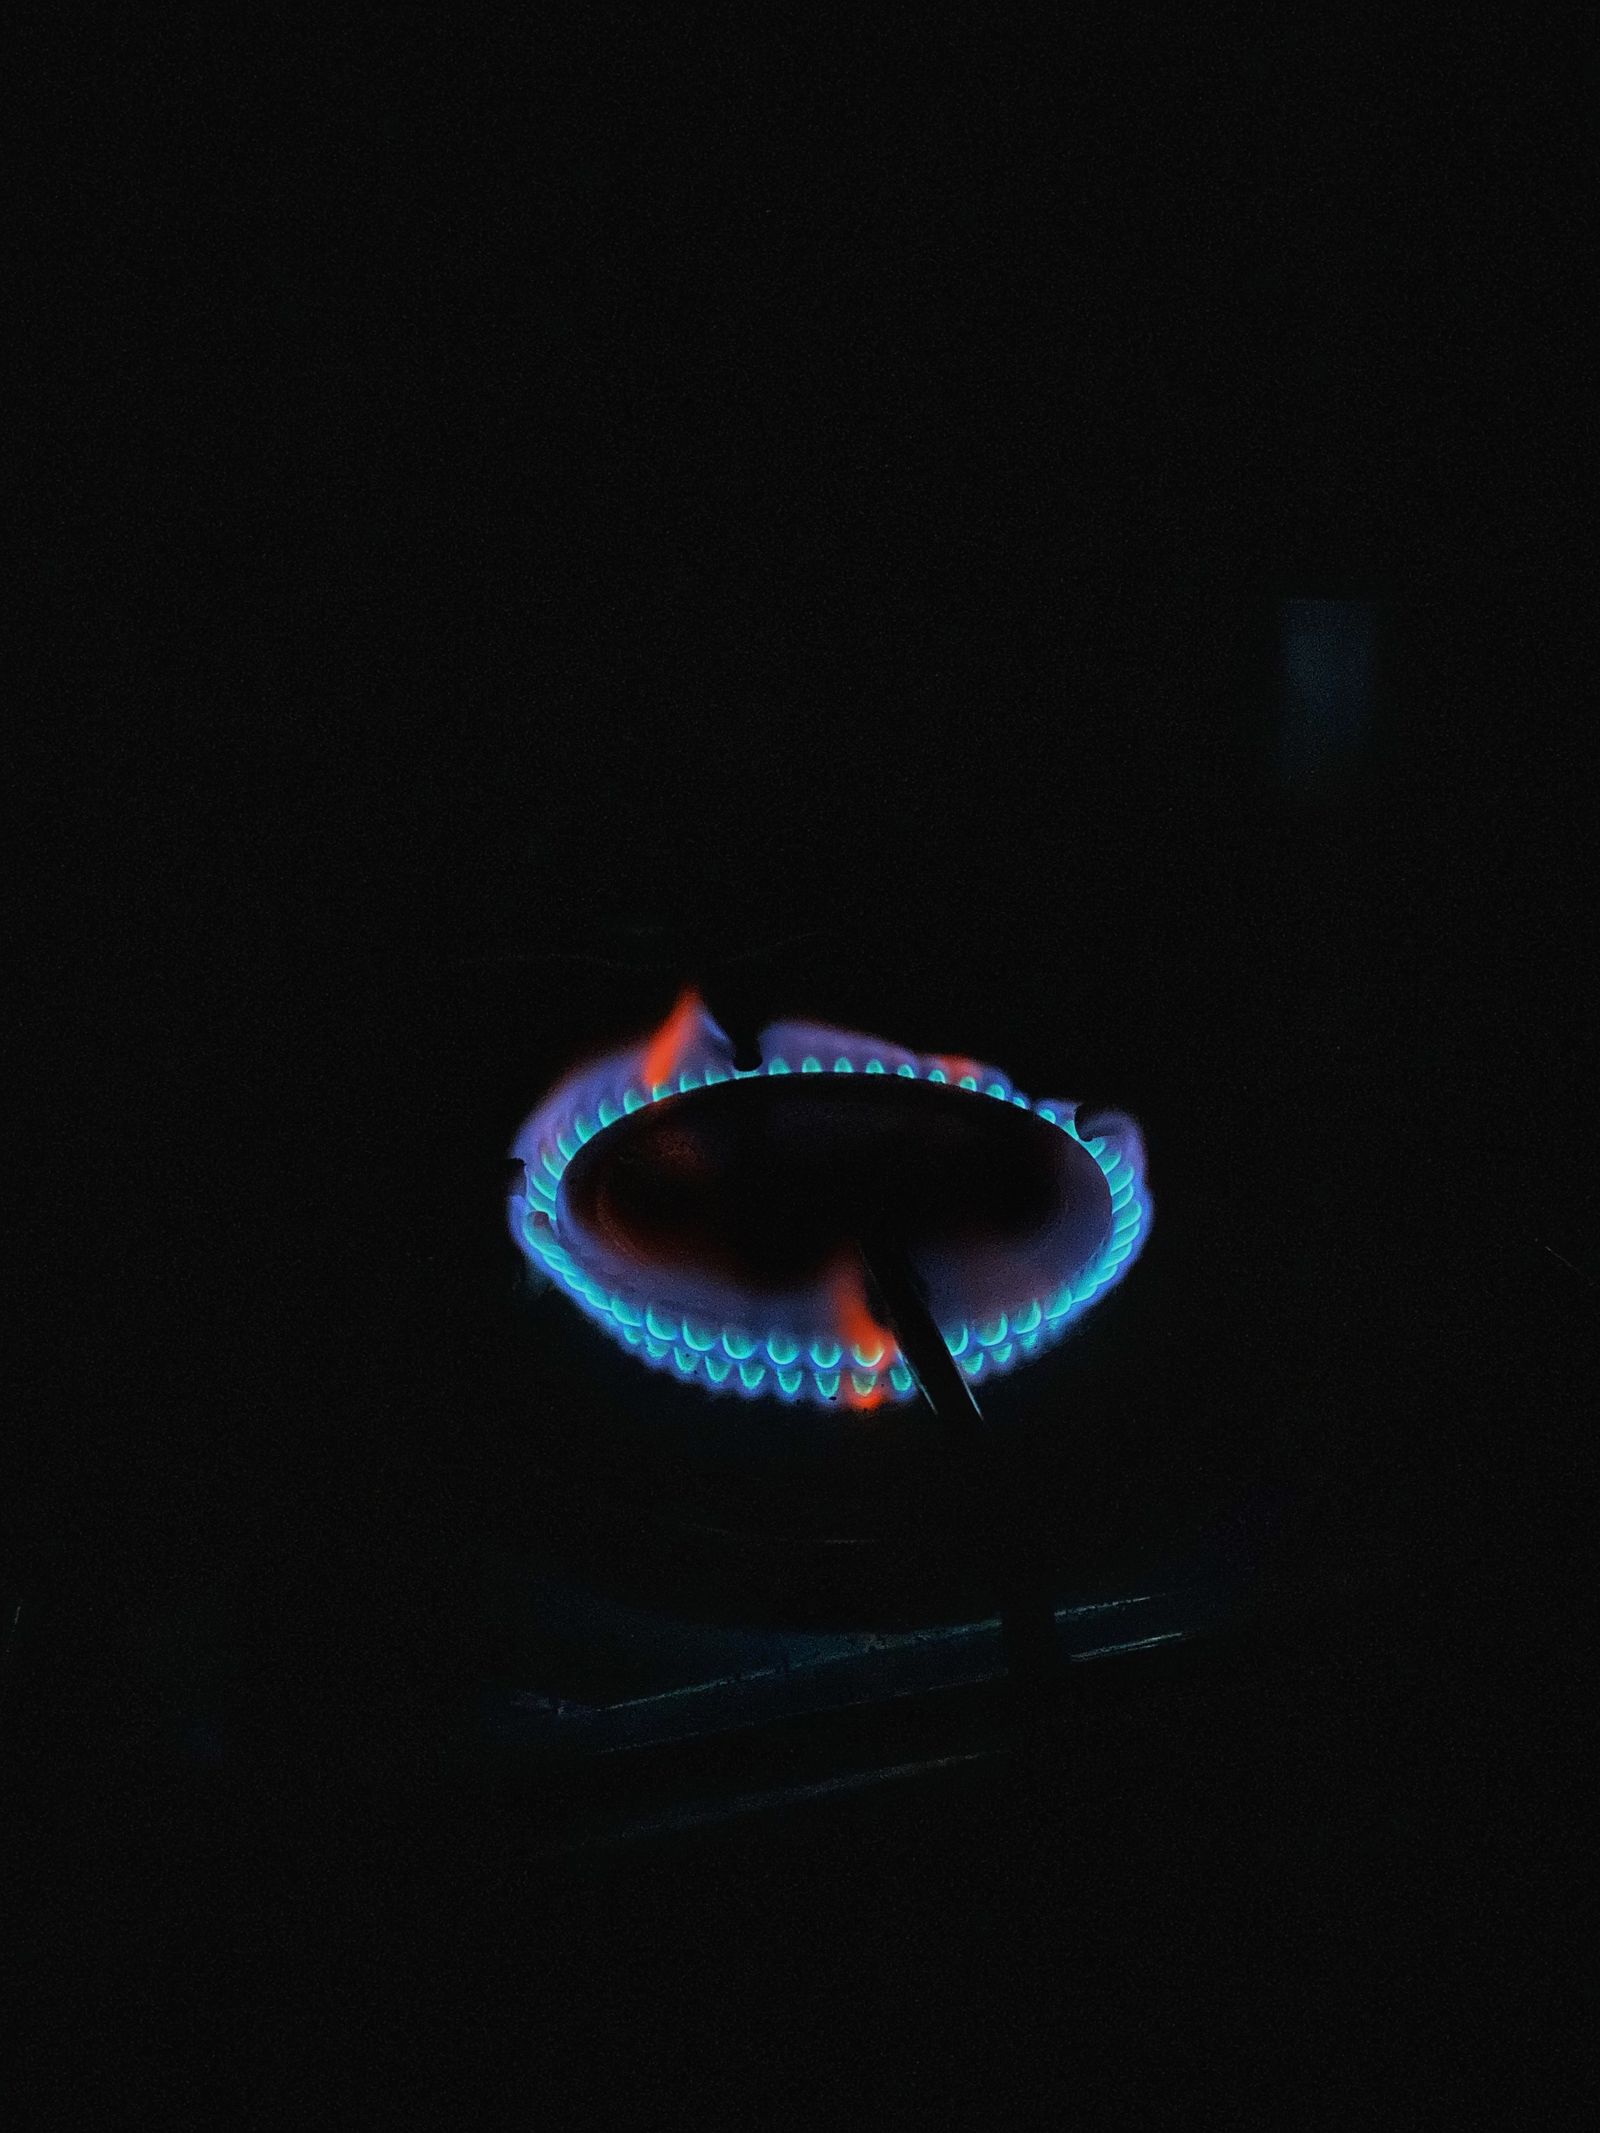
- Clicks but no flame: dirty or misaligned electrode, off-center cap, or no gas at that burner.
- No click at all on any burner: 120V power or the spark module, since SureSpark needs power to spark.
- Weak or yellow flame: clogged ports, wrong NG/LP orifice, or low supply pressure.
- Lights then goes out: SureSpark re-ignition issue or a partially blocked port starving the flame.
If more than one pattern fits, start with the simplest cause and confirm it is clear before moving on, so no part is bought before the diagnosis is certain. The aim is to narrow the field down to a single likely cause, because that is what turns an open-ended problem into a quick, affordable fix.
When it is a fault, not a habit
If the everyday checks above do not resolve it, the problem has likely moved from something you can adjust to a component that needs testing or replacing. These are the signs that point that way:
- The cap is centered and the electrode is clean but one burner still will not spark — the electrode wire or the spark module may have failed.
- No burner clicks despite confirmed power, which points to the spark module or its harness.
- A burner converted between natural gas and LP without the correct orifice will run weak or not light.
At this point a proper diagnosis beats guesswork, since the remaining causes involve a specific part or electrical testing. An experienced technician can meter the suspect component and fit a genuine Viking part so the repair lasts.
Putting it together
Work the checks above in the order given. Most Viking range faults of this kind clear at one of the early, owner-checkable steps; the ones that do not point to a specific part and are worth a proper diagnosis rather than guesswork. Move from the simplest cause outward, confirm each step before the next, and treat a returning code or a lingering symptom as your cue to bring in help. A little routine care afterwards prevents most repeat calls, since Viking builds these ranges to a heavy-duty, professional-grade standard.
Related reading: Viking range error code archive, Viking range igniter keeps clicking, and our range repair service.
Book Viking range service
If these steps do not resolve it, our experienced technicians repair Viking ranges with genuine parts and a 30-day labour guarantee. Schedule a visit, see what our range repair service covers, or confirm your model details on the manufacturer’s site at vikingrange.com.