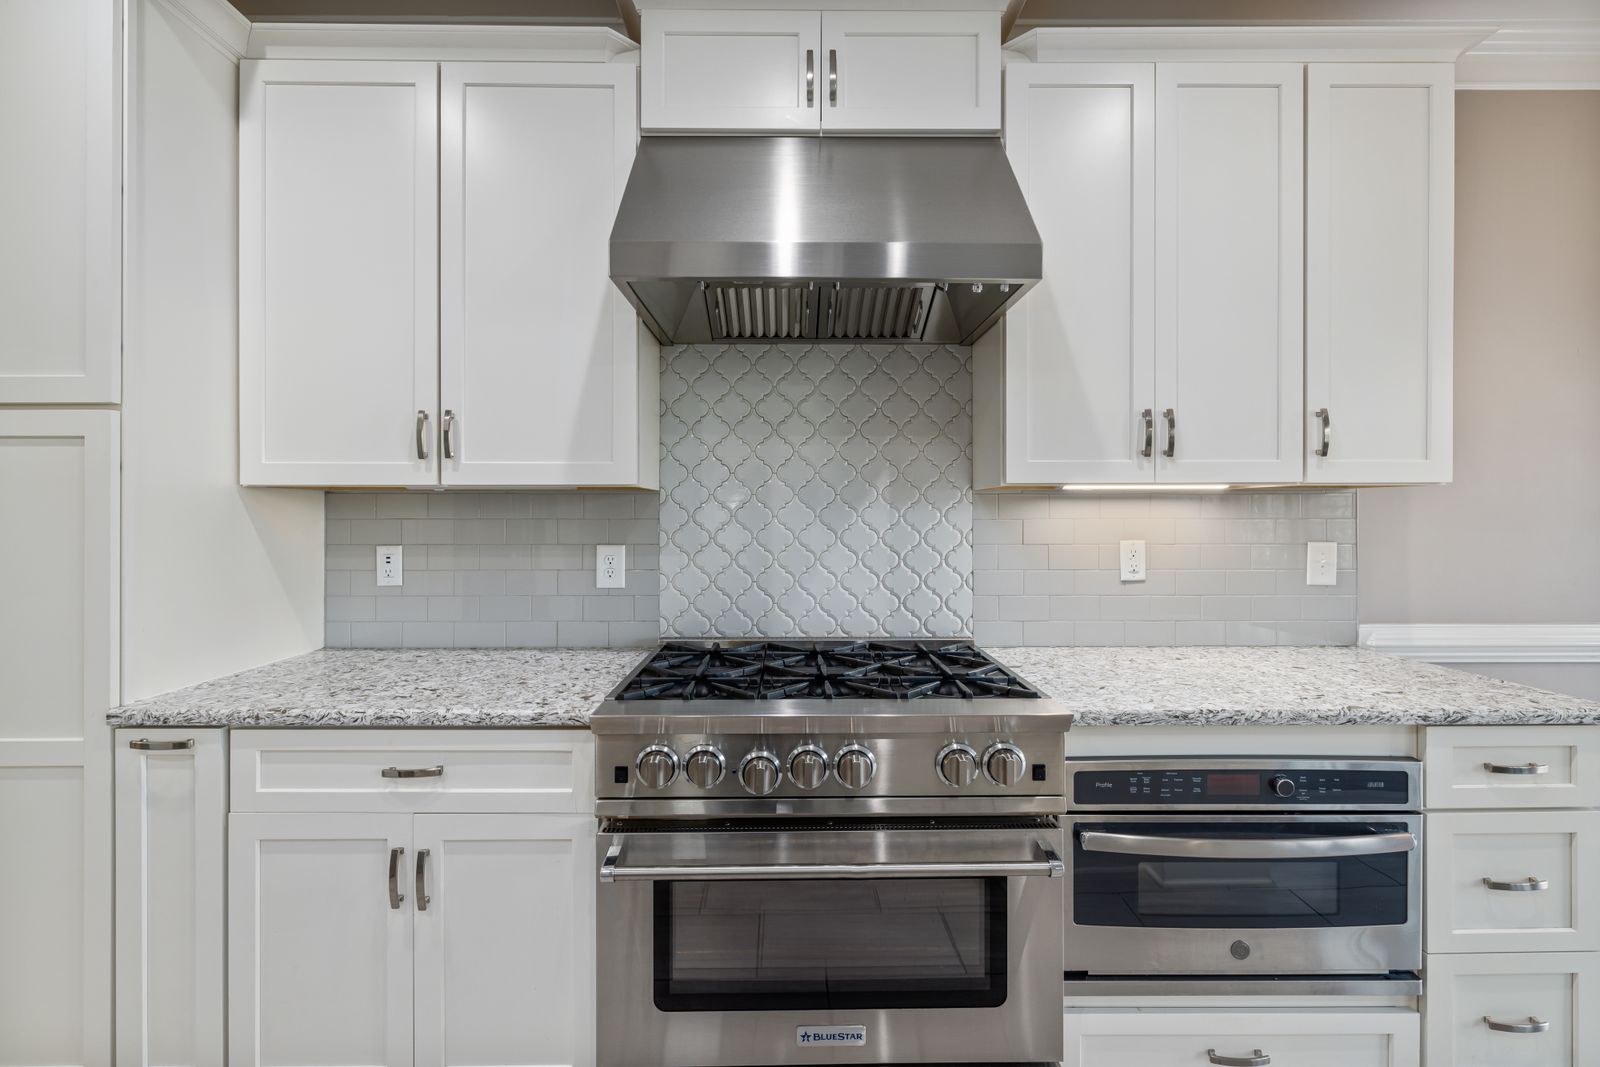
Viking elevation burners are the high-output, commercial-derived burners on the 7 Series, and understanding them clears up the BTU numbers buyers compare.
A Viking range pairs a cooktop with an oven, and the two halves diagnose differently: the gas burners are mechanical and symptom-led (no burner code table exists), while an electric or dual-fuel oven cavity reports the same EOC F-codes as the wall ovens — F1/F2/F3 on older boards, F01-F08 on the EOC4. We start with the everyday causes you can check yourself, then explain the signs that point to a part that genuinely needs a hands-on repair.
What a viking elevation burners usually means
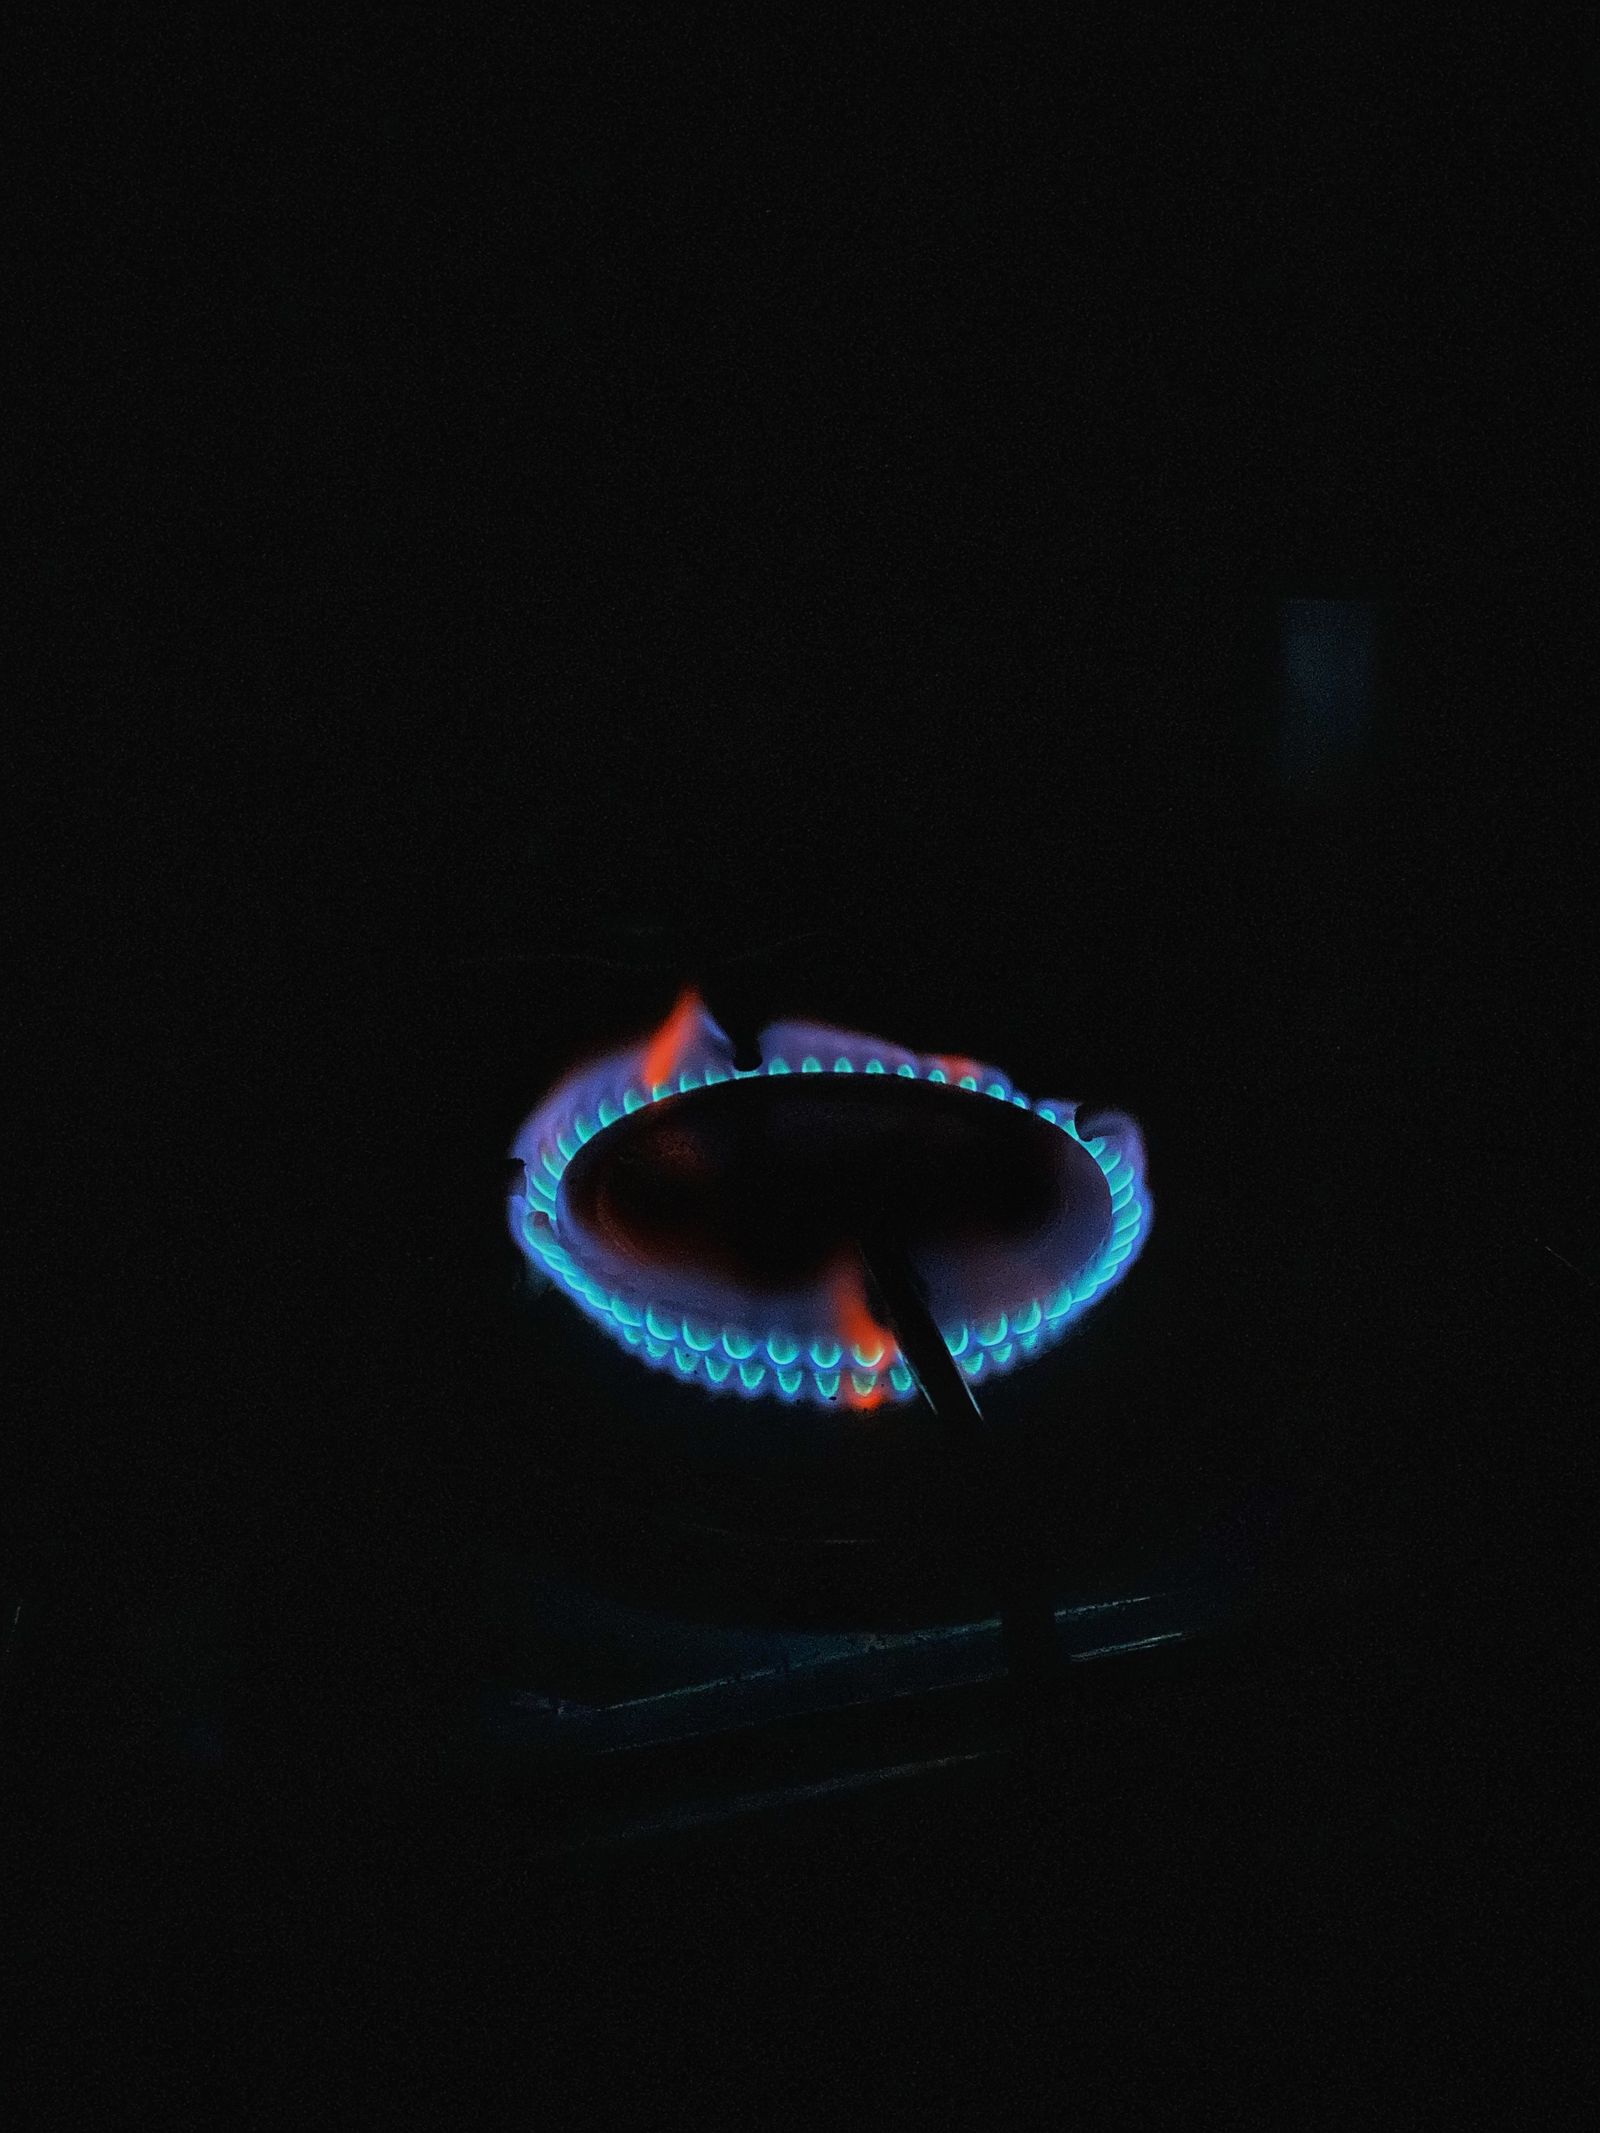
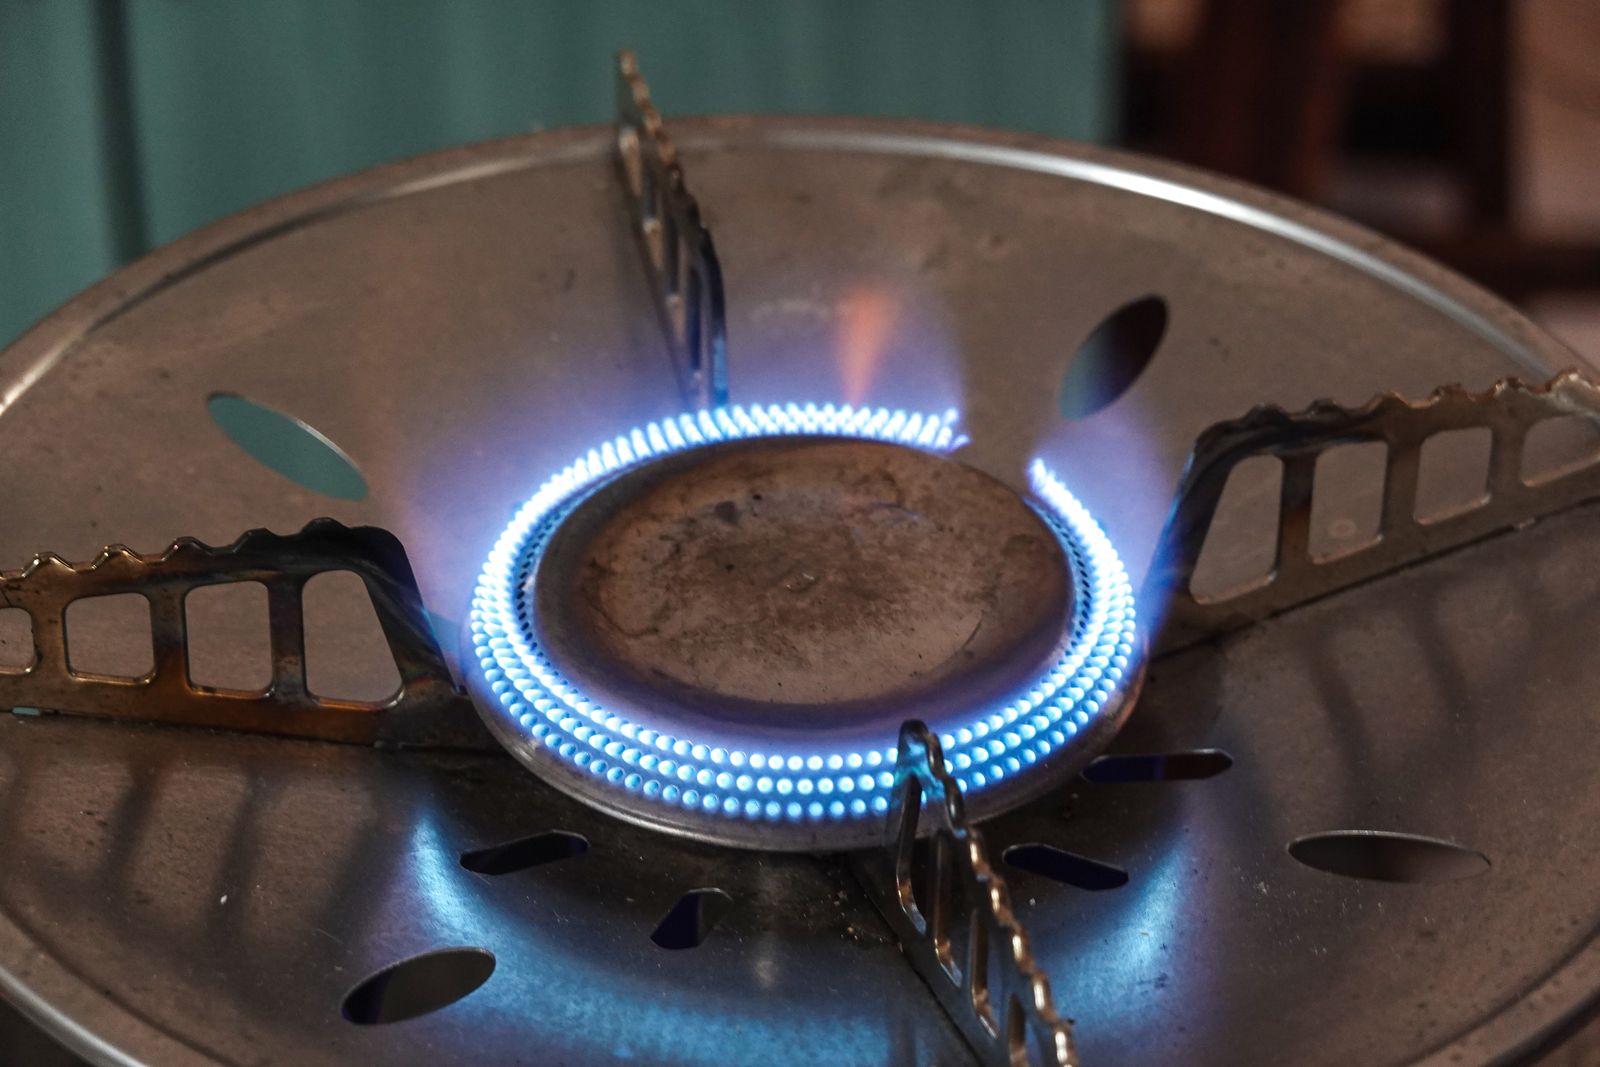
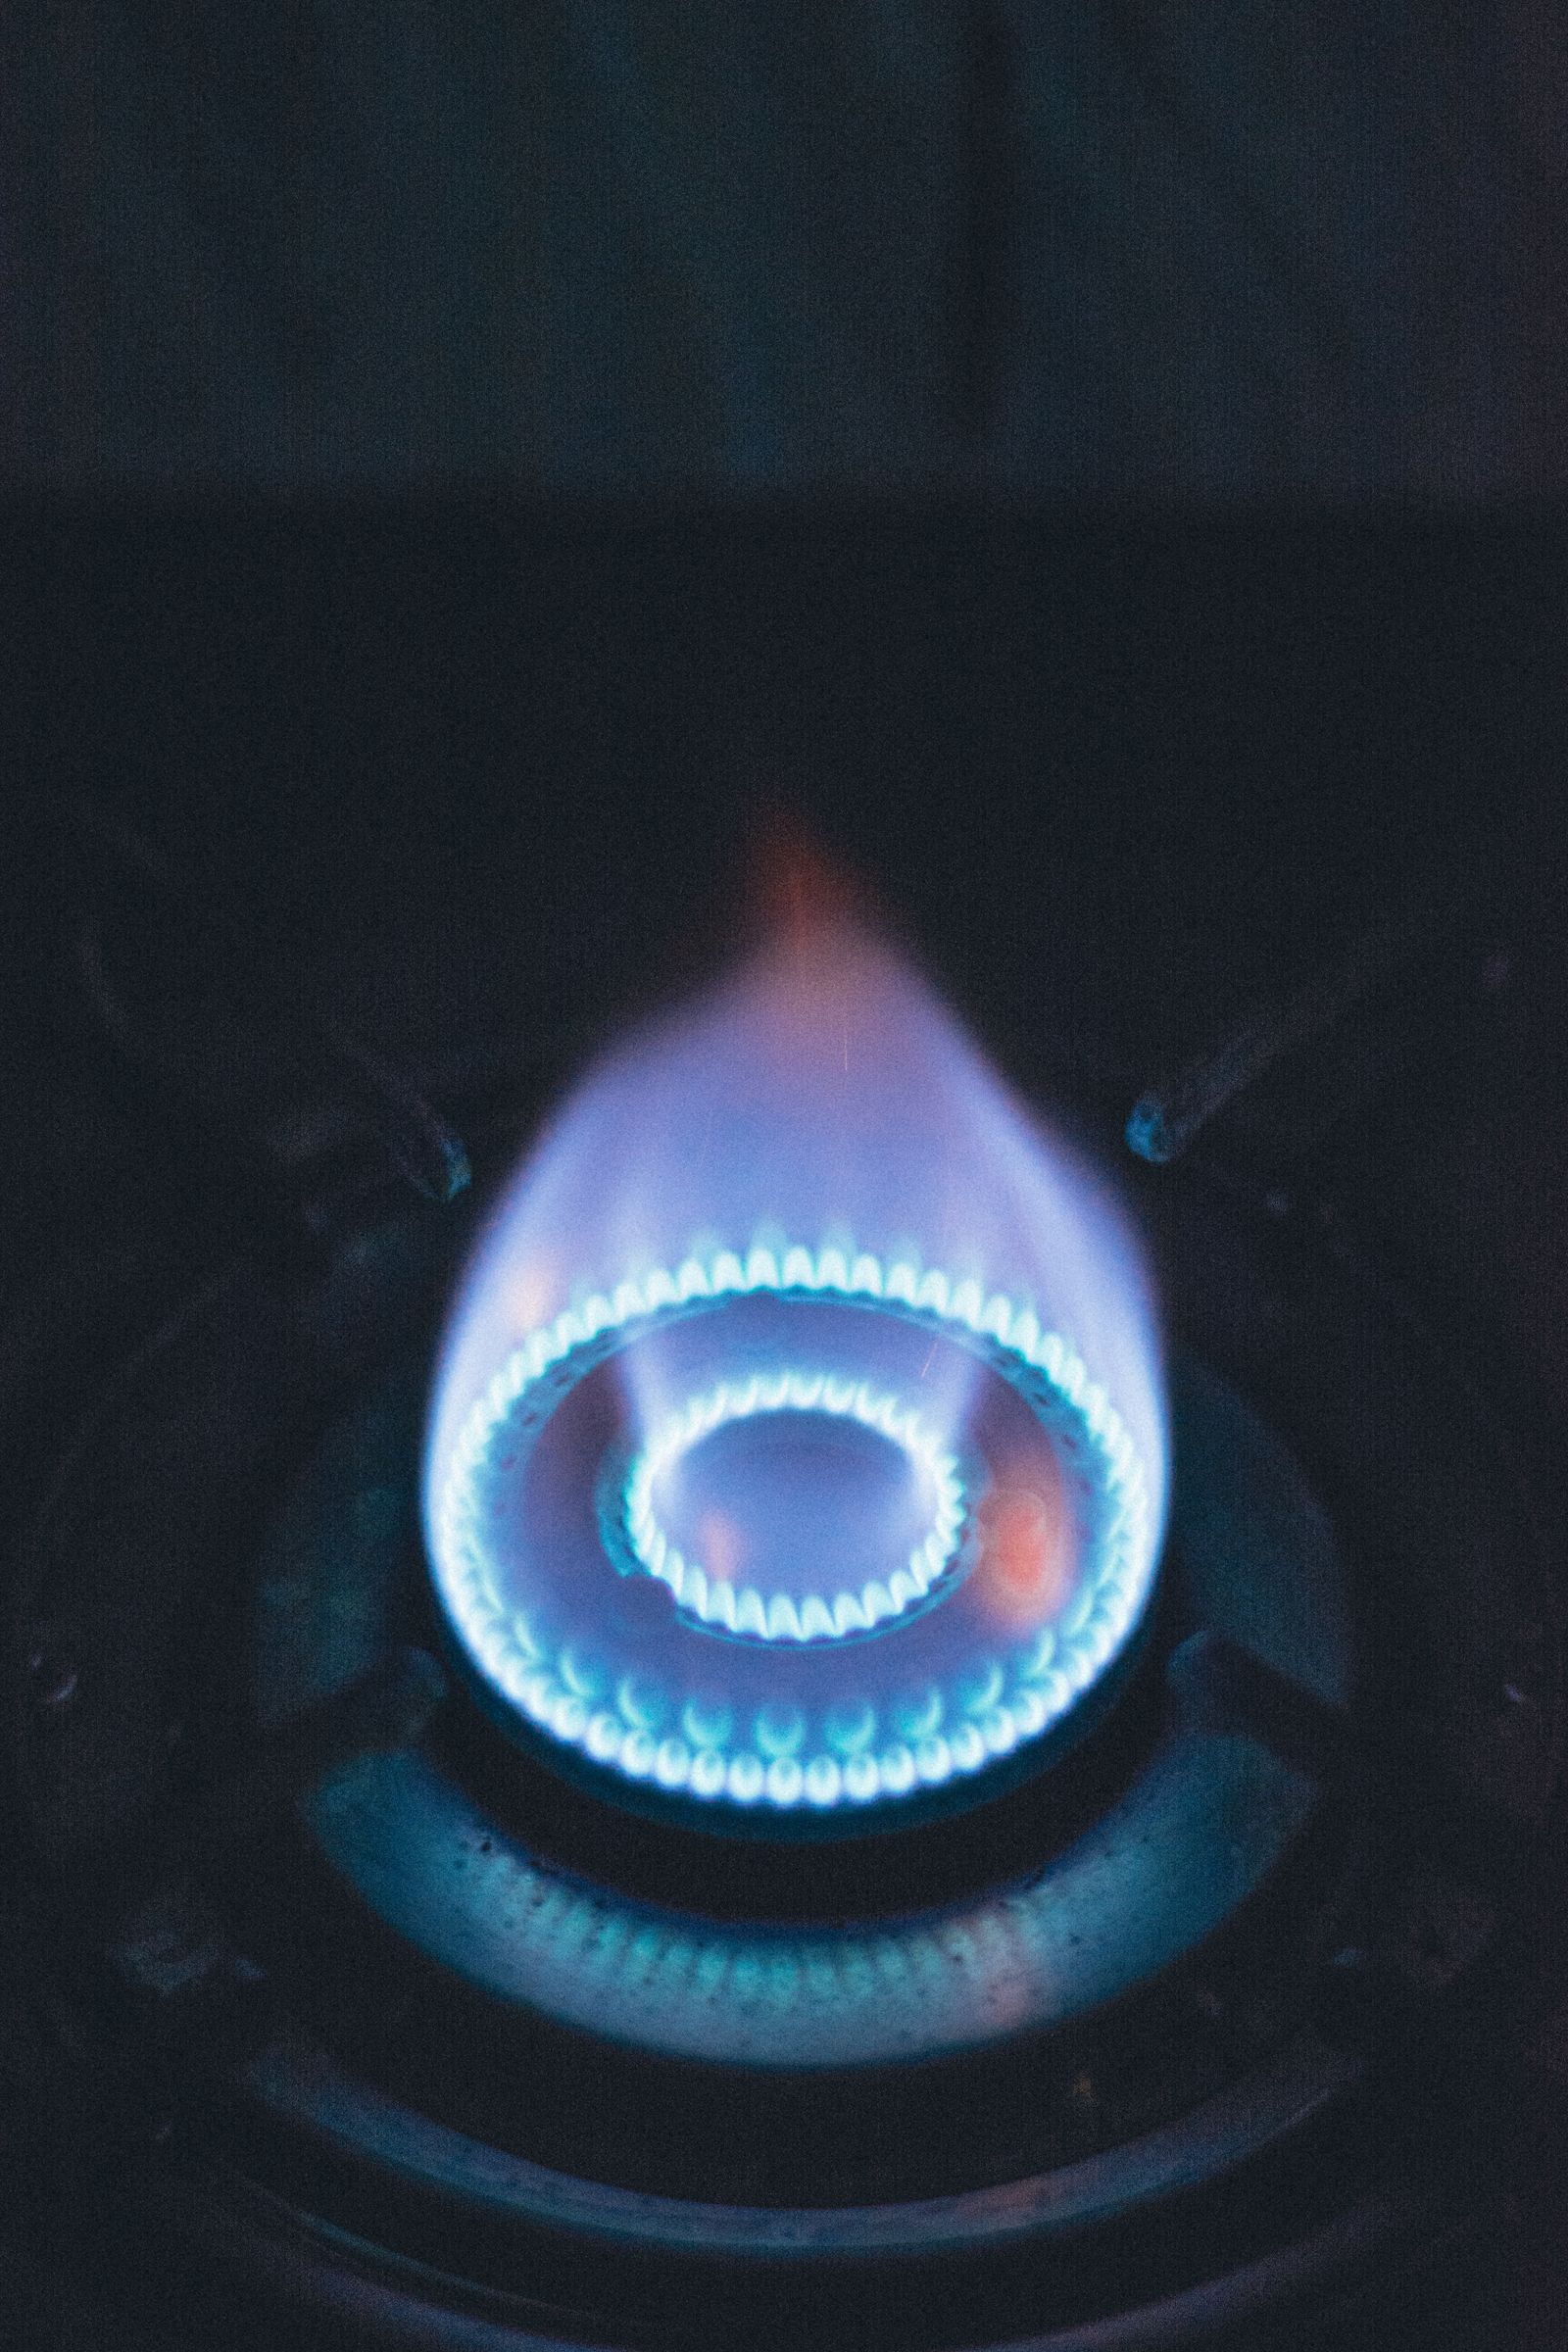
Elevation Burners are raised, brass-flame-port burners adapted from Viking’s commercial line, found on 7 Series ranges and rangetops and rated up to 23,000 BTU for fast, high-heat cooking. The 5 Series uses TruPowerPlus (VSH Pro) sealed burners up to 18,500 BTU. BTU per hour measures a burner’s heat output at full power, while VariSimmer handles the gentle low end on every burner regardless of its top BTU.
Knowing exactly what this term means clears up a lot of confusion, because the same words get used loosely online and sometimes for the wrong feature entirely. Getting the definition right matters when you are diagnosing a problem, comparing models, or reading an indicator, since a misunderstanding here can send you chasing the wrong part. The explanation below keeps to verified facts about how Viking actually uses the term, and it flags the common mix-ups so you do not fall for them.
Common symptoms and what they point to
Matching the exact symptom to its likely cause is how you avoid replacing the wrong part. Compare what you are seeing to the patterns below:
- Elevation Burners: raised brass-port burners on 7 Series ranges/rangetops, up to 23,000 BTU.
- TruPowerPlus / VSH Pro: front sealed burner on 5 Series, up to 18,500 BTU.
- BTU rates a burner’s peak heat output — higher BTU means faster boiling and searing.
- VariSimmer covers the low end on all burners, so high BTU does not mean poor simmer control.
Read these as a practical summary rather than a strict checklist. The thread running through them is that Viking engineers these systems to behave predictably, so once you know the principle, the day-to-day signs make sense and you can act on the right one. Keep the verified details in mind — especially any point that corrects a common misconception — and you will make better decisions about use, upkeep, and when a repair is actually warranted.
Getting it right for the long run
It also helps to know where this sits among related Viking terms, because the marketing names, the feature set, and the indicators all overlap in everyday conversation. Keeping them straight means you can read a spec sheet, a manual, or a display message without second-guessing yourself. When in doubt, anchor on the verified behaviour described here rather than a half-remembered forum post, and you will avoid the mix-ups that lead people to buy the wrong part or expect a feature their model does not have.
Putting it together
Work the checks above in the order given. Most Viking range faults of this kind clear at one of the early, owner-checkable steps; the ones that do not point to a specific part and are worth a proper diagnosis rather than guesswork. Move from the simplest cause outward, confirm each step before the next, and treat a returning code or a lingering symptom as your cue to bring in help. A little routine care afterwards prevents most repeat calls, since Viking builds these ranges to a heavy-duty, professional-grade standard.
Related reading: Viking dual-fuel range buying guide, Viking range models, and our range repair service.
Book Viking range service
If these steps do not resolve it, our experienced technicians repair Viking ranges with genuine parts and a 30-day labour guarantee. Schedule a visit, see what our range repair service covers, or confirm your model details on the manufacturer’s site at vikingrange.com.